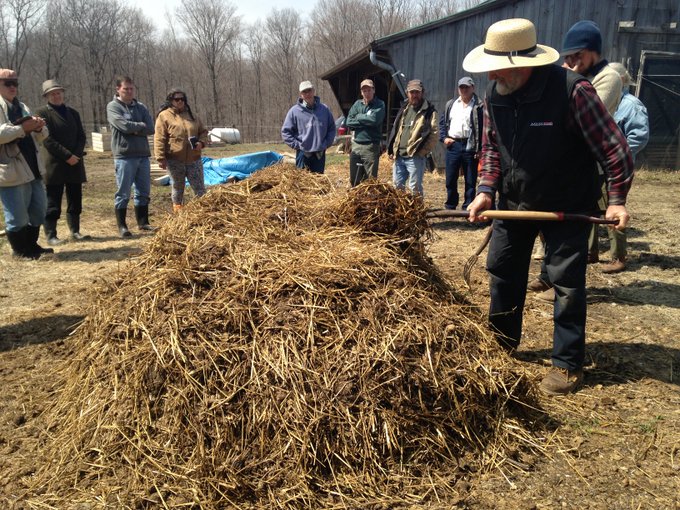
Composting Workshop Photo Credit: Emily Hansen/EFO
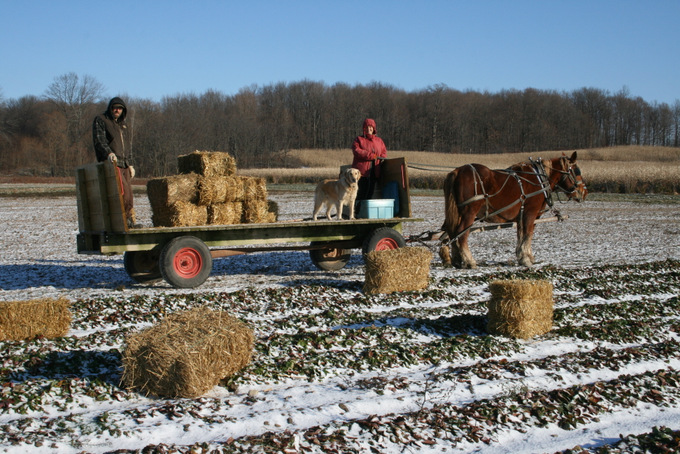
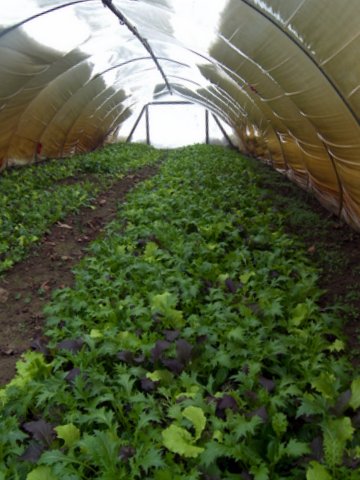
What a backward spring! We are all ready to go, waiting for the weather to warm up to let us out on the land! Ken and the apprentices have drug out and serviced our equipment. Earlier in the week Ken was able to do a bit of “snow ploughing” with our Suffolk horses in the field, because the ground was thawed under the snow, but this morning the snow is gone and the ground is frozen again! I feel like we are horses chomping at the bit waiting to get on the land! However, we are getting a lot of odd jobs done and it is important to have things in place so that when the window does open we are ready to take off running. Hopefully, we will be able to do some more ploughing this afternoon. Four of our five hoop houses are up and planted we have one more ready for its new plastic and then we will plant it. Once things warm up the everything should come along quickly.
Last Saturday we hosted an Ecological Farmers of Ontario composting workshop. Ken taught the course and we have some pictures courtesy of EFO staff member, Emily Hansen.
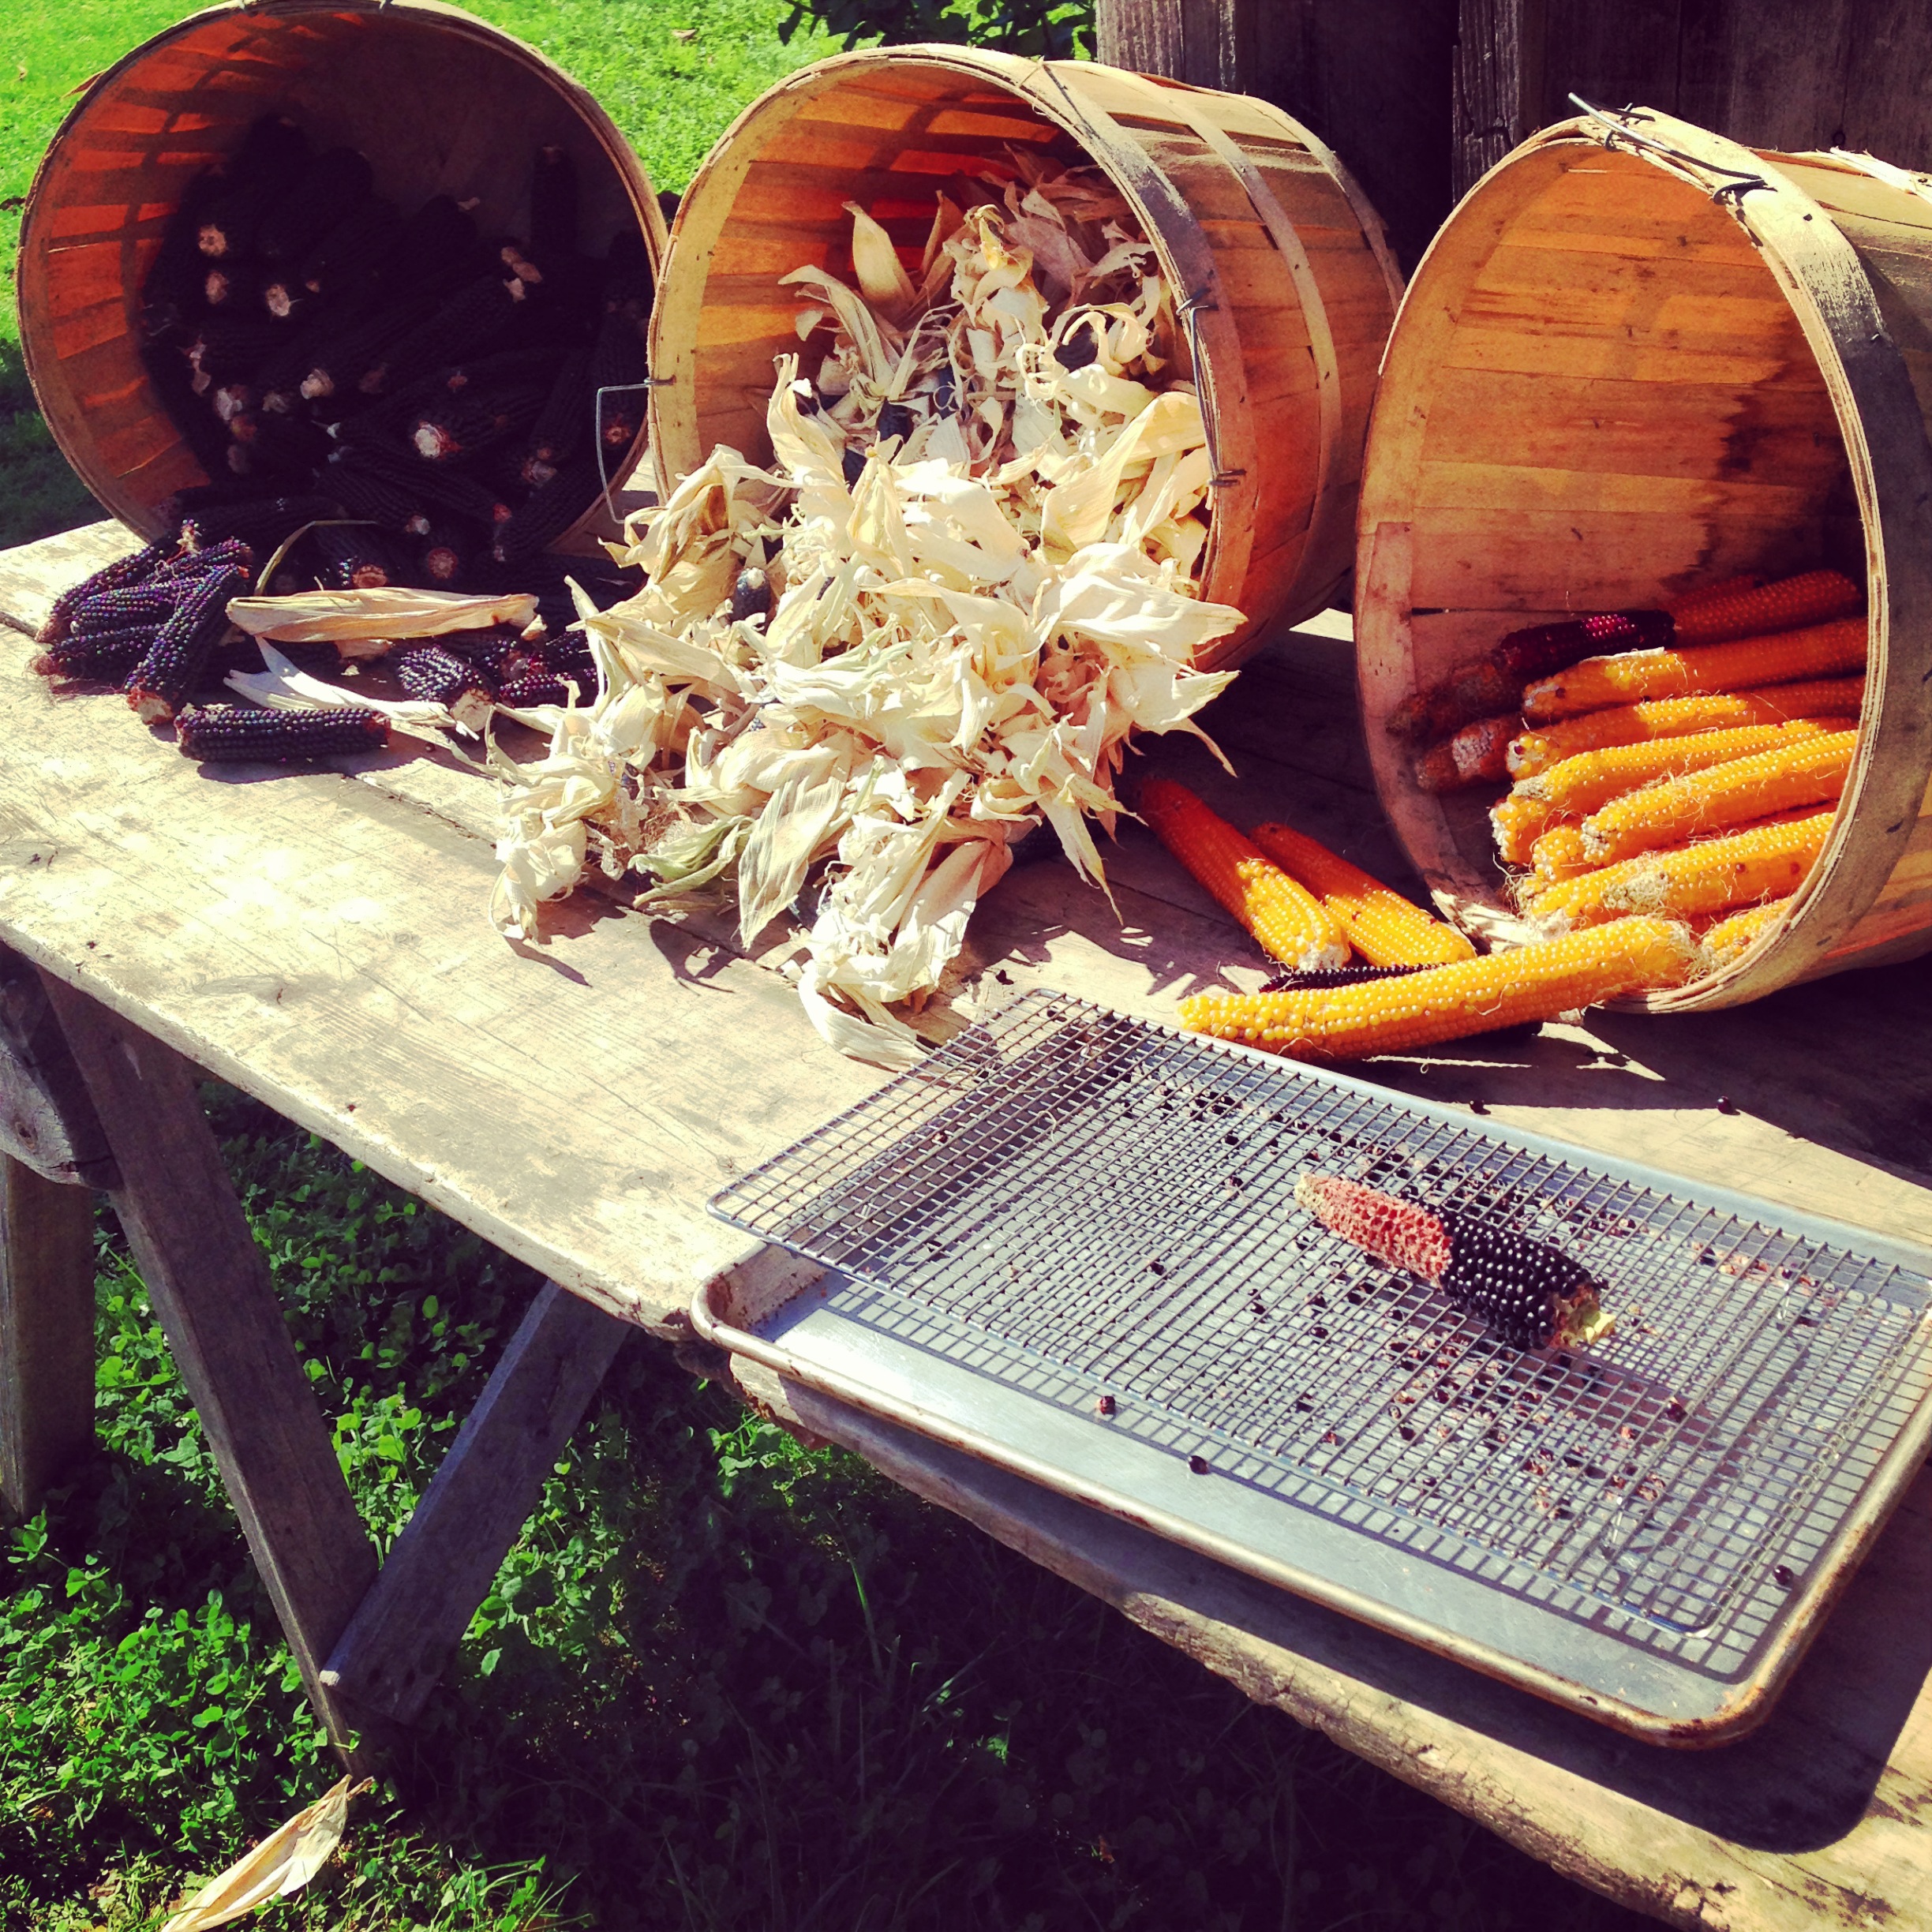
CSA Flowers Photo Credit:Chantelle Diachina / CSA Member
CSA member Chantelle Diachina sent some pictures along that she took during the CSA season last year. It’s nice to see the beautiful flowers, herbs and aray of popcorn in her pictures from the 2013 CSA season. It gives me confidence that warm weather will come and we will again have a bountiful harvest to share with our CSA members. We still have some shares available for the 2014 season. Selection of Herbs from our Gardens Photo Credit: Chantelle Diachina / CSA Member
OHF Popcorn Photo Credit: Chantelle DiachinaCSA Fall Carrots and Golden Beets Photo Credit: Chantelle Diachina
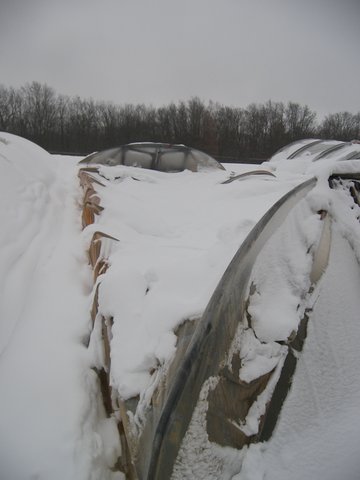
We put the first plants into the ground in one of our hoop houses last Saturday! Since then we have been doing some more seeding and transplanting in the greenhouse and have been trying hard to get the other hoop houses ready for planting. The big snow dump at the end of November last year ruined about 150 feet of hoop house- bending the hoops and tearing the plastic. It has been a major job to take apart the old hoop houses, clean up the plants and trellis that were inside, and salvage what hoops and plastic we could to rebuild one 50 footer. We have purchased a new 100 foot hoop house to take the place of the one big one. We are getting closer, but the strong winds today mean that it is not the day to cover a hoop house with plastic!
Suffolk Horses on the Treadmill
The Suffolk horses are becoming accustomed to jumping up on the treadmill and Ken milled some more flour, with their help, last Saturday. Our small mill is slow and we are wondering if we should buy another small mill and run two at once or purchase a larger mill. We’ll see.
Laying Hen Enjoying Scratching Around
Our chickens are starting to lay more eggs as they gear up after a winter “off” getting ready for the CSA season. We have ordered some young ready-to-lay pullets for the middle of May to replace some of our older hens. They are really enjoying scratching around since the snow has disappeared. We will have some extra eggs for sale at the farm before the CSA season begins for anyone who wants to come out for some real free range eggs!
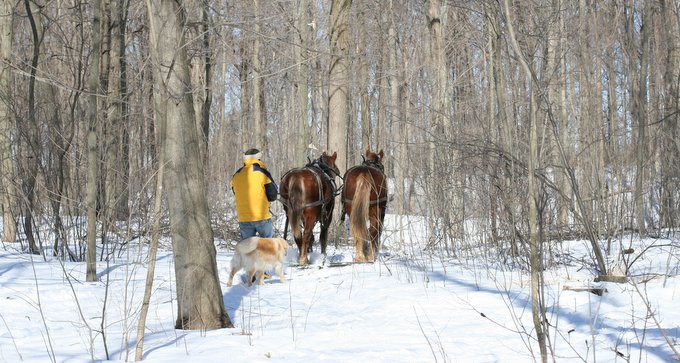
As the snow disappears we are getting ready to work land and hope to have some seeds in the ground next week. Ken is happy that the horses are in good shape to start the spring work because of all the logging and treadmill work they have done already.
Our CSA membership is gradually filling up, but we still have some shares available for the 2014 season and welcome new members.
“Digging in soil can actually act as an antidepressant, as a strain of bacterium in soil, Mycobacterium vaccae, triggers the release of seratonin, which in turn elevates mood and decreases anxiety.” I have always believed that getting my hands in the earth was good for my soul, so reading the above quote intrigued me. It is from 10 Ways to ShowLove to Someone with Depression from Health Counselling Services of Simon Fraser University. Spending much of my March “farm time” in the greenhouse with the extra light, green plants sprouting and hands in the soil has been good. With this warm weather we will soon be able to get the early hoop houses planted and perhaps some outdoor seeding, that we tuck in with row cover.
Brandon WickesCaitlin Arnold
We are very happy that our intern/apprentices from the U.S. arrived a week ago. We are enjoying their beautiful smiles, positive energy and enthusiasm for farming with draft horses. After a week of introductions to various aspects of the farm and lots of firewood cutting and splitting they are now taking a Draft Horse Workshop. Our Suffolk Punch horses are patient teachers along with Ken and Grayden. The field work portion of the workshop will have to wait until the ground thaws out! We have a workshop scheduled for April 24-26 where outside participants will come to the farm for a three day Draft Horse Workshop. This is a good trial run for Ken and Grayden.
CSA memberships are rolling in each day and the CSA is gradually filling up. There are still shares available for the 2014 Main Season CSA. It is a special experience to be able to share our farm with so many families and individuals through the CSA model. It really does work to form a connection to the land, where their food comes from. Our working share option allows for CSA members to get their hands in the dirt too! It is always affirming when members come to help and are surprised to find out how much fun it is. Maybe it is connected to the release of seratonin from the dirt…
I’ve spent part of the winter developing a reliable Sourdough Bread recipe using 100% of our own sifted whole wheat. Ken has spent part of his winter setting up a horse treadmill connected to a flour mill with a sifter to grind and sift our wheat. Horse Treadmill in Action
Sourdough Whole Wheat Bread
Sourdough Starter – follow a standard recipe to get a mature starter or get some from a friend.
I feed the sourdough every day: Discard all but one Tablespoon of starter and feed it with about ¼ cup of water and 1/3 cup of flour to make a relatively thick paste. If you do this every day or even twice a day, it will stay fresh and be active and ready to bake with anytime. If you are not going to bake for a week it can be kept in the fridge, but it needs to be taken out before your baking day and “woken up” with at least one feeding the night before you intend to bake. I use a small glass container with a plastic lid. If refrigerated it needs to be “fed” at least once a week even if you don’t use it. When the sourdough is fed often enough and mixed with more flour to make a paste like consistency it will have a nutty smell and not be too sour.
I use a scale to measure the ingredients for the bread. I have added times to the following directions to give an idea of when each stage could be done, however the start time can be adjusted to suit your schedule.
Day One – Sourdough – 8:00 a.m.
Measure the following into a bowl:
50 g. mature sourdough starter
200 g. – 90 degree Fahrenheit spring or well water
250 g. – Orchard Hill Farm sifted whole-wheat flour
Mix together and cover
Leave at room temperature 6 to 8 hours.
Final Dough – 2-4 p.m.
792 g. – 90 degree Fahrenheit spring or well water
960 g. – Orchard Hill Farm sifted whole-wheat flour
Mix together, cover and let stand 30 minutes
After 30 minutes add:
432 g. sourdough
25g. sea salt
Wet your hand to work with the dough to keep it from sticking as you do the following:
Wait 15 – 30 minutes and stretch and fold dough, cover.
Wait 15 – 30 minutes and stretch and fold dough again, cover.
Wait 15 – 30 minutes and stretch and fold dough again, cover.
About 5 hours after starting to mix the final dough or when dough is about double in volume:
Divide – 8:00 – 9:00 p.m.
Dust the counter with flour and ease the dough out of its container. Use a dough scraper to cut the dough in half. Shape into a ball with the scraper and your hands. The dough will be very wet, but that is OK. Transfer dough onto a floured piece of linen fabric. The dough does not stick to linen, this is important! (I cut up an old linen tablecloth and it works well.) Gather up the linen cloth by the corners and transfer to a bowl. Repeat with the remainder of the dough.
Proof
Place bowls in a plastic bag and refrigerate over night or for 12 – 13 hours.
Day Two – 8:15 a.m.
Preheat oven to 475 degrees Fahrenheit. Put Dutch ovens, with lids, in oven to preheat and wait about 45 minutes. (If you only have one Dutch oven you can bake the loaves separately, just leave the second in the fridge while the first is baking and reheat the Dutch oven before reusing for about 5 minutes.)
Bake – 9:00 a.m.
With oven mitts carefully remove the Dutch oven from the oven. Remove lid.
Dust the interior of the Dutch oven with rice flour. Lift the dough out of the bowl holding the corners of the linen cloth. Supporting the dough with your hand turn over and gently place the dough into the Dutch oven pull the linen cloth away from the dough. Cover with the lid. Repeat with the second proofed loaf. Place the Dutch ovens into the oven and bake for 30 minutes with the covers on. Remove the covers and continue baking for about 15 minutes. Remove the Dutch ovens from the oven and turn bread out on to a cooling rack. The bread should sound hollow when hit on the bottom and appear well browned. This should result in a crusty loaf with a very moist interior.
Today I did the first seeding in the greenhouse for the 2014 CSA season. It is always exciting to start the new young seedlings. I enjoy greenhouse work and the anticipation of a new gardening season. Onions, leeks for the main garden and early lettuce and pac choi for the hoop houses are the first seeds that I plant. We are trialling different potting soil mixes this year so it requires an extra layer of organization and record keeping. Ken wants to see if worm castings make a difference to the seedling health. There are claims that it will cut down of fungus growth.
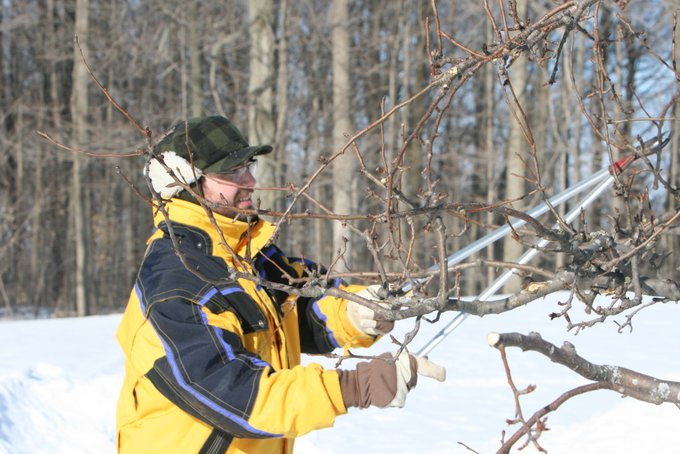
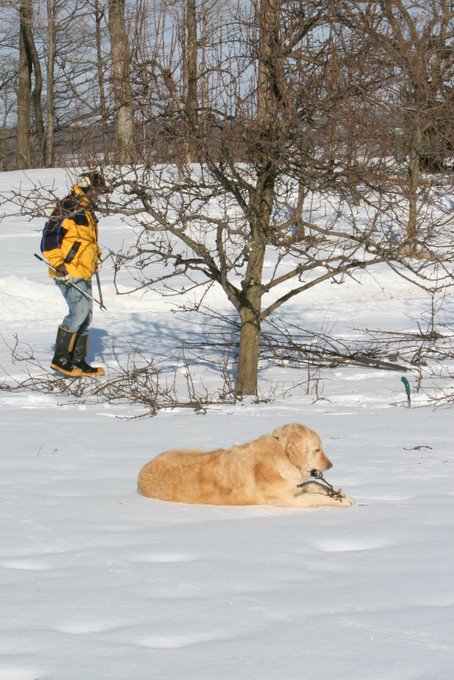
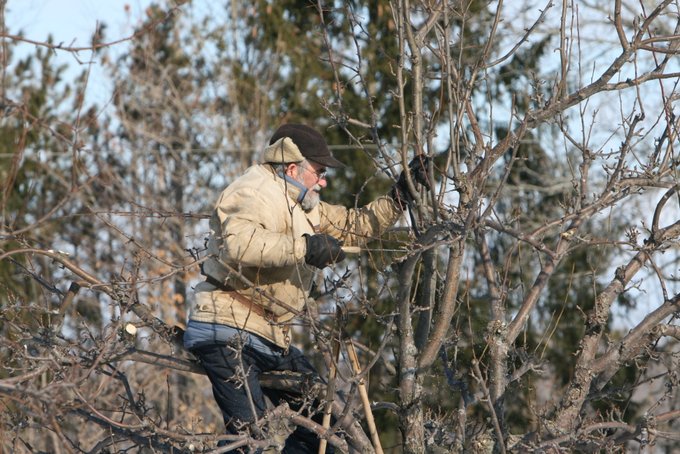
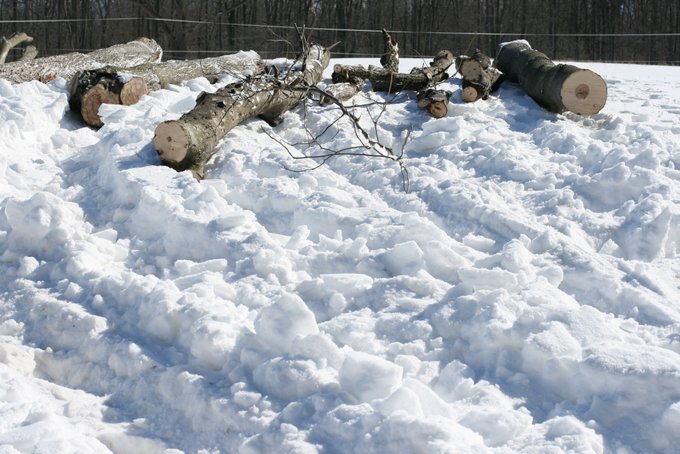
Ken and Grayden have been working at pruning our fruit trees and cutting and skidding out logs to be cut up later for firewood and lumber.
January came and went and February is almost over! We have had a busy snowy winter filled with all the usual winter activities: hiring interns; farmer meetings and conferences; reading and stoking the fire as well as CSA seed ordering and garden planning. Ken has been busy sawing lumber and getting the horse tread mill /flour mill set up. It is almost ready to try out. We will have to have a special post just for that! I have been perfecting a sourdough bread recipe that uses 100% Orchard Hill Farm sifted whole wheat flour. A u-tube video is coming soon…
Ken continues to study soil plant nutrition and as always he is striving to find ways to improve the nutritional quality of the food we produce on our farm for our CSA. This week we got out the refractometer and measured some of our stored vegetables with a Birx test (measure of sugar and minerals in the juice of the fruit or vegetable or the sap of the plant). One carrot was 6.5 (a little better than average) and the Sweet Dumpling Squash 12.5 ( between good and excellent).
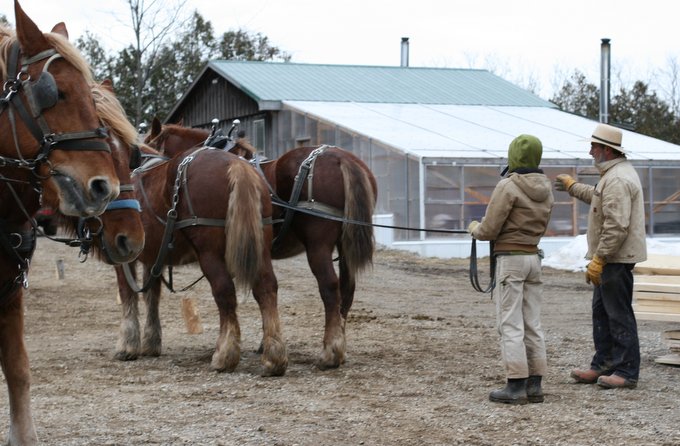
Our Suffolk Punch horses are wintering well. The frozen ground and snow pack make for a good winter paddock. It is much better than a muddy wet winter. Eli, our young Suffolk Stallion, is coming three this year and is proving to be a very well mannered sensible horse. He is running with the herd and they are all getting along. We installed wooden floors in all the standing stalls with ash from our woods, that Ken was able to saw himself. It made mucking out today easier and should be better for the horses legs when they are in their stalls.
Our son, Grayden, has moved back home and plans to work on the farm part time this season. It is great to have him around and we look forward an upswing in the quality of the photo record of the farm as he adds his professional skills in that area. (He took the photos for this entry and formatted them.) We also anticipate a good season with an able team of interns we expect the first three to arrive the last week of March. The fourth is coming in May, after her schooling is finished.
Our big news on the Suffolk front is that we are going to host the American Suffolk Horse Association Annual Meeting here September 12-14. Ken has been dreaming up lots of fun activities for the horses. We will be inviting Suffolk owners to bring horses here to show off and participate in events. Suffolk horses are a rare bred and it is exciting to have and event in Ontario to celebrate the breed.
Squeezing Carrot Juice into RefractometerKen Reading the RefractometerBrixTable
Mulching StrawberriesMulching Done with Bill’s Help Too!
As the year draws to a close one job that always needs doing is tucking in next year’s strawberries for the winter with mulch. As we were working at the job, I realized that Ken and I have mulched strawberries every year since 1978, when we grew our first plants. It is one of the most consistent annual farm jobs of our farming careers. Completing the farming year with a familiar annual task is satisfying. I enjoy the change of pace that goes with the seasons and our farming life, the rhythms and patterns are somehow reassuring. Now I am ready to turn my focus inward and enjoy nesting, holidays and a bit of hibernation before I start ordering seeds and planning next year’s garden.
Last Fall CSA Pick-up taken by Jim ConradLast Fall CSA Pick-up taken by Jim ConradLast Fall CSA Pick-up taken by Jim Conrad
We managed to have a beautiful last Fall CSA pick-up despite the big snow that proceeded it. CSA member, Jim Conrad, helped us out with all the Fall pick-ups and was ready with his camera on the last day. I am happy he was able to get some pictures of the beautiful array of produce before the pick-up began.
Ken and Bill have been sawing logs and the”backlog” is finally beginning to go down a bit. After the Fall CSA ended Ken and I took off for a week in Oregon to visit our daughter and her family. While Ken was there he toured some wood working and lumber businesses and was inspired by the beauty of wood and what can be made from it.
I have had time to hunt up some recipes and found a corn muffin that uses squash! It is quite yummy. The last time I made it I used sweet potato instead of squash and that worked well too. It is from The Cook’s Garden Edited by Liz Primeau (Canadian Gardening Collection).
BUTTERCUP CORN MUFFINS
1 cup cornmeal
1 cup all-purpose flour
1 3/4 tsp baking powder
1 tsp baking soda
1 tsp salt
1 tbsp. chopped fresh marjoram or oregano
1 tbsp. chopped parsley
1 or 2 green onions, finely chopped
1 cup fresh or frozen (thawed, drained) corn
2 large eggs
3/4 cup plain yogurt
3/4 cup olive oil
1 cup mashed, cooked buttercup squash
Preheat oven to 425 degrees. Lightly butter muffin tin and set aside.
In large bowl, combine cornmeal, flour, baking powder, baking soda, salt, marjoram, parsley, green onions and corn. Stir together well, then set aside.
In another mixing bowl, beat eggs together lightly, then incorporate yogurt and olive oil. Blend in squash until mixture is smooth. Add squash mixture to the cornmeal mixture and stir until well incorporated, but do not beat heavily.
Spoon mixture into muffin cups about 2/3 full. Bake for 25 to 30 minutes, or until browned and a tester emerges cleanly. Let cool for a few minutes in the muffing tin. Serve warm with butter and red pepper jelly.
Hoop House “B” Unharmed will save the day. Providing Greens for our last Fall CSA Pick-up.
We have been moving snow for the past two days after the 30 inches we got on Saturday night. Fortunately, we have the root crops for next Saturday’s last Fall CSA pick-up all dug and in cold storage! We will be digging kale out of the snow later in the week and harvesting salad greens from under one collapsed hoop house. The weight of the snow was too much for it! Yesterday, we took a team of Suffolk Punch horses out to break a trail with the big bob sled and they were so worn out from ploughing through the snow that we had to turn around before we reached the main garden area and head back up to the barn. The snow has settled somewhat today and we are expecting to be able to make it down to the garden by the end of the week.
I have had my eye out for onion recipes because we have had such a bumper crop of onions. The following two recipes are from Small-Batch Preserving by Ellie Topp and Margaret Howard.
Caramelized Red Onion Relish
Balsamic vinegar is the magic ingredient in this recipe. It adds a pungent sweetness to the caramelized onions. Serve with barbecued or broiled meats such as steak, lamb chops and chicken.
2 large red onions, peeled
1/4 cup firmly packed brown sugar
1 cup dry red wine
3 tbsp balsamic vinegar
1/8 tsp each: salt and freshly ground pepper
1. Slice onions into very thin slices. Combine onions and sugar in a heavy non-stick skillet. Cook, uncovered, over medium-high heat for about 25 minutes or until onions turn golden and start to caramelize, stirring frequently.
2. Stir in wine and vinegar. Bring to a boil over hight heat, reduce heat to low and cook for about 15 minutes or until most of the liquid has evaporated, stirring frequently.
3. Season to taste with salt and pepper. Spoon into clean jar and refrigerate to use within 3 weeks or freeze.
Caramelized Red Onion and Tomato Pizza
This tasty appetizer is easily prepared using Caramelized Red Onion Relish
1/2 cup Caramelized Red Onion Relish
4 individual pizza crusts
1 medium tomato, diced
2 cups shredded mozzarella cheese
Divide onion mixture among pizza crusts, spreading evenly. Combine tomato and cheese; sprinkle over onion. Bake in a 350 degree F oven for about 10 minutes or until hot and cheese is melted. Cut each pizza into 6 wedges.
The following is a recipe sent to me by CSA member Lisa Koivu to share:
Hi, Martha:
I just tried one of my favourite pumpkin muffin recipes with a cinderella squash and it was sublime, so I thought I’d share. I cooked the squash and froze it in one cup portions, so when I want to make the muffins, it’s already measured. It’s true – this recipe has NO fat.
Pumpkin oatmeal muffins – Oven 400
1/2 cup brown sugar
1 egg
3/4 cup milk
1/4 cup applesauce
1 cup cooked pumpkin
Beat egg and milk, then add sugar, applesauce and pumpkin.
Then stir in:
1 cup old fashioned rolled oats
Let it sit for about 5 minutes for the oats to absorb the liquid.
Meanwhile, stir together:
2 tsp pumpkin pie spice
1/2 tsp baking soda
2 tsp baking powder
1 1/2 cup all purpose flour
Add to wet mixture. Put in greased muffin tins. Cook at 400 F for 25 minutes.
Caesar inside on a Rainy DayKen Making his “to-do” ListKen and Caesar Sorting out the Wood Plie
Between our by-weekly Fall CSA pick-up days we have had time to catch up on some of our “to-do” list, or in Ken’s case making a new “to do” list…Caesar is adjusting to life without apprentices, but he really looks forward to pick-up days. Today Ken and Caesar are sorting out the lumber in the storage getting ready to saw more logs. We have wood for sale, for any interested woodworkers. There is also an opportunity to have it sawn to their own specifications.
Lots of Onions
I have had some time to post some recipes. We ended up with a bumper onion crop this year and I am posting a couple of my favourite onion recipes. A number of years ago a German friend of ours introduced us to onion pie as a main course dish and I have always been a fan of French onion soup.
ONION PIE
(Zwiebel Kuchen)
A main- dish pie of German origin
Pastry for baked 10” shell:
1 ½ cup sifted flour
¾ tsp. salt
1 ½ tsp. caraway seeds (optional)
½ cup shortening
2 to 3 tbsp. water
Combine flour, salt and caraway. Add shortening; cut into flour until mixture resembles small peas and coarse cornmeal.
Stir water in lightly with fork; stir until mixture adheres and follows fork around blow.
Turn onto floured board; roll to 1/2” thickness. Fit into 10” pie pan.
Filling:
3 cups peeled onions, thickly sliced
3 tbsp. melted butter
½ cup milk
1 ½ cup sour cream
1 tsp. salt
2 eggs, well beaten
3 tbsp. flour
Bacon slices (optional)
To make filling: Sauté onions in fat until lightly browned. Spoon into pastry shell.
Add milk, 1 ¼ cup sour cream and salt to eggs.
Blend flour with remaining ¼ cup sour cream. Combine with egg mixture; pour over onion mixture.
Bake in slow oven 325 degrees F. 30 minutes, or until firm in center.
Garnish with crisp bacon. Makes 8 servings.
FRENCH ONION SOUP
½ cup butter
4 onions, sliced
2 cloves garlic, chopped
1 cup red wine
3 heaping tablespoons of all-purpose flour
2 quarts beef broth
1 baguette, cut into croutons
½ pound grated cheese (a mix of aged Cheddar and Swiss is nice)
Melt butter in a large pan; add onions, garlic. Fry in butter until soft and caramelized, about 25 minutes. Add the wine, bring to a boil and simmer until wine is evaporated, stirring as needed. Add flour and cook stirring on low heat for about 10 minutes to cook out the raw taste of the flour. Now add the beef broth, bring soup back to a simmer, and cook for 10 minutes. Season, to taste, with salt and pepper.
When you’re ready to eat, preheat the broiler. Put croutons into oven ready bowls, ladle the soup on top and cover with grated cheese. Put under broiler until cheese melts.