March is here! It’s time to kick into gear, planting and prepping for the busy season. We are planning to proceed with the same system as last year – online store opening in May for pre-orders, as little or as much as you like, for pick up at the farm Fridays and at Covent Garden Market on Saturdays. We will also have a regular market stand at Covent, 8am-1pm, starting in May.

We will have seedlings for sale again this year – edible flowers and herbs, tough to find natural dye plants like Japanese Indigo, madder root and weld, as well as hybrid tomatoes, heirloom tomatoes and peppers.

I feel grateful for the slow season changes on the farm – I’m not quite ready for full speed ahead (my body or my mind), but I’m ready to start the engine. Jess started back at the farm this week, a couple days a week. We will seed quick crops in the unheated hoop houses, work in the cosy greenhouse, and do some construction projects. I try to improve a system each year on the farm – this year we are upgrading the wash area with a new salad washing tub and machine for spin-drying.

It’s also childcare juggling season – figuring out a new way to snatch a moment to sit at the computer (it’s 5:30am), finish the weaving project (exciting in the beginning but now a chore), and fetch all the jars and bags and boxes we need for the season.

Buttons and Suzy were both scheduled to foal this fall, but now we are waiting on just one…Buttons lost her foal in February, a little early, born in its intact sac. It was sad but we are grateful we have another little one to look forward to. Sonny, a gelding that worked here for many years has come back to Orchard Hill. He will be working with Buttons and with the young stallion, Joey in the spring. This will be the first year that Joey is out in the fields, and he’s doing really well in training.

Ken is proceeding with more research trials with EFAO (Ecological Farmers Association of Ontario) and Living Labs, looking at the techniques and benefits related to larger scale organic no-till. If you drive by the farm, you can see some of the cover crop demonstrations labelled.

I hope you’re all healthy and warm, and you have someone to hug.

Drilling Soybeans into Crimped Winter Rye

Organic farmers have been criticized for using too much tillage. We use tillage to terminate one crop and prepare the soil for planting the next crop and then we use more tillage in row crops to control weeds during the growing season.

To develop no-till planting strategies for organic farmers it requires a lot of management skills and experience to figure out what cover crops or combinations thereof to create a good planting situation and season long weed control.

To do it with horse power requires another whole level of adaptation and creativity to evolve the machinery necessary to do the job of planting into heavy residues – getting the seed through the residue and into the soil and not exposing too much bare soil which is an invitation for weeds to grow.

There are 2 basic strategies that I have used: planting into winter killed cover crops like daikon radish or sorghum-sudan grass: or planting into mowed or roller/crimped growing covers like oats/barley/peas or winter rye or buckwheat.

Interestingly the 2 pieces of equipment that I use for terminating growing covers are both built by I&J an Amish equipment company in Pennsylvania. The I &J mower[7ft.] I use has a double reciprocating design which enables it to cut through any standing crop without plugging and does a nice job of laying it down evenly. The other tool, the roller/crimper was also designed by I&J and I was fortunate to find one they had built with wheels to be trailed behind a forecart. The drum can be filled with water to make it more effective and the wheels can be lifted right off the ground to transfer even more weight to the roller. It is 8 feet wide and can be pulled by 2 horses or 3 if it is a bigger field.

No-till Drill

The more challenging piece of equipment is the no-till planter/drill. Listening to the advice of a long time no-till conventional farmer [ who is also my nephew] I avoided a system which is common on no-till drills which is a row of coulters ahead of the openers. These coulters effectively loosen the soil to allow the use of a lighter opener system. The problem is they absorb a lot of horsepower. There is an Amish company that builds such a drill of various sizes, ESCH in Pennsylvania. The design I went with involves a heavy double disc opener on parallel-o-gram arms with one disc leading the other by ¾”. Then there is a press wheel at the rear to control the depth of seeding and also functions to close the seed trench. These units were off a salvaged tractor no-till drill built by Crust-Buster in the USA. There 8 units spaced 8” apart. I usually pull this drill with 3 horses. It is raised and lowered with a battery driven hydraulic system. I intentionally built the drill quite heavy but I still added more weight because very heavy residue of firm soil can cause an end wheel to lift off the ground. That is why the drive wheel for the seeding mechanism is on a third wheel. The down pressure on the openers is easily changed by moving a spring on the opener unit but of course is limited by the total weight of the machine.

We have successfully no-tilled spring cereals into winter killed daikon radish, oats/barley/peas and sorghum-sudan grass, soybeans into roller/crimped winter rye and winter cereals into roller/crimped buckwheat and mown millet.

No-till Drilling Oat/Barley Mixture Into Different Winter Killed Cover Crops, April 6, 2019

Heidi cultimulchingAn introductory, housekeeping item – it’s Ellen behind the keyboard here. I have taken over managing the blog, facebook page and instagram account. Martha will occasionally post something, but we thought that you might like to know who you’re reading.

One of things I love about farming and living a life that is so seasonal is that patterns start to emerge between events, plants and animals, sometimes seemingly otherwise unrelated. The other day I mentioned that Home County Music Festival was coming up to my mom and she said ‘oh, that means we need to put the electric fence up around the sweet corn’ (to keep the raccoons out), because she remembers the past few years, rushing around to get that done before going to the music festival.

2016 is shaping up to be the year of the weeds! Some combination of no-till cover crops, lack of rain, and who knows what has created the highest weed pressure of any year that my parents can remember. Upside – you get to feel like a superhero, swooping in to save the poor plants from certain doom in the pigweed jungle. Every 2 weeks. Downside – it feels like there’s no time to do anything but weed. It has such an effect that we have decided to change the location of the 2017 garden – there were so many weeds coming up in the field destined for vegetables that we have switched it up and it will now be planted to buckwheat (and a few more cover crops).

The garlic should be ready to harvest in the next week or two and it looks glorious! The heads are big and IMG_4562beautiful. The cucumbers are getting off to a slow start because Martha went to a seminar this winter and came away with recommendations for cucumber varieties, and also the idea that cucumbers shouldn’t be transplanted because it sets them back too much – best to just get them in the soil sooner (in a hoop house). Sounds great! However, only 5-10% of the expensive, special cucumber seed germinated. So we replanted and those plants are coming along and we will have lots of cucumbers in a month or so….and in other good news, tomatoes, peppers and melons love all this hot dry weather, so they should be bountiful.

0I6A2662-editFlorence the calf is doing well. She guzzles her milk each day, three times a day. Bryan takes her for a walk most evenings and she loves to suck on fingers (or hands, or baby feet!). We have brought in almost all the first cut hay now – it’s been great haying weather!

The multigenerational family farm operation is going well so far – it’s a challenge to get as much done as you think you will with small children in the mix (or it looms large from my perspective perhaps). But it’s very special to me to see the relationship develop between my parents and my children – and their relationship with my grandmother! She’s come a few times to help keep an eye on the children while we keep on top of stocking the pick up room. But it’s also interesting and heart tugging to see Della develop a relationship with the plants and animals that I spent so much time with when I was a child – making flower crowns with spring beauties, following toads, making forts for worms. Della in the blueberry bushesOr picking blueberries for everyone for dinner! Ken and Martha are starting to plan for a renovation of the bunkhouse – adding a kitchen and bathroom, and probably replacing all the walls – that’s all! They shall start their (semi) retirement in style next year.

Here are a few recipes from garden members –

Spinach Pesto & Artichoke Pasta Salad

From Vicki Coughlin (at Telegraph House in Port Stanley) –

I didn’t have the artichokes (omitted them) and used this recipe hot as a side dish for dinner, and thought it was a brilliant way to use fresh organic spinach from Orchard Hill! (farmer note – it would also be delicious with swiss chard!)

250 g fusilli

1 garlic clove

2 cups packed spinach

1/4 cup toasted sliced almonds

1/4 cup parmesan

1 tablespoon lemon juice

1/4 tsp salt

1/3 cup olive oil

1/4 cup 2% plain yogurt

398 -ml can artichoke hearts, drained and chopped.


  1. Cook pasta following package directions, but omitting salt, until tender. (Drain & rinse with cold water if making salad)
  1. Whirl garlic clove with spinach, almonds, parmesan, lemon juice and salt in a food processor until finely chopped.  Gradually whirl in oil until smooth.
  1. Combine pesto with yogurt in a large bowl.  Stir in pasta and artichokes if using.

Chia Fruit Jam

From Jackie Martens –

This is very quick and easy to make and I have made this with Mulberries, Strawberries, Raspberries, and Strawberries with Rhubarb.

1 cup fresh or frozen fruit, cut up small

3 tbsp chia seeds

2 tbsp organic maple syrup (or other sweetener like honey or agave)

4 tbsp water

(If using Rhubarb, I soften it a bit first by boiling it in the 4 tbsp of water.)

Mix together all ingredients.
Transfer the mixture into a saucepan and cook on med-low heat for 4-5 minutes until jam sets.
Transfer to a jam jar and enjoy on yogurt, toast, crackers, with salad or use as a topping for scones or other slices.
Store in the fridge for up to 7 days.


Grandpa and GrandmaIt’s been a whirlwind of activity on the farm the past few weeks – this time of year, everything wants to be done at the same time. What to do when?! This morning we were trying to figure out what to tackle first and Ken said ‘Well, which of the 14 things that all need to be done now should we do first?’ The greenhouse is exploding with plants whose roots are seeking real soil. The garden ground has finally warmed enough we can plant more and more seeds directly, and barely keep ahead of the weeds. And all the plants are so new and tender that they are the most delicious for the bugs and beetles, so everything has to be covered with row cover (floating fabric that keeps the bugs out). But then again, it’s spring, so some of them – like the tiny and voracious flea beetle, are just emerging from the soil and so they come out under the row cover to a feast! These are the culprits responsible for the (ahem) ‘lacy’ radish leaves.

Garden June 1However, the greenhouse is looking rather empty these days – we have planted broccoli, cauliflower, cabbage, lettuce, beets, carrots, corn, eggplant, peppers, tomatoes, beans, melons and gladiolas in the past few weeks. Everything just needs a good soaking in order to take off. Since nature doesn’t seem to be cooperating, we are going to take matters into our own hands and start some irrigation. That should make it rain for sure!

And of course, it’s the perfect time to move and merge households – ha! Ellen and Aaron have sold their house in Portland and moved their things to the family farm. Farm succession in action has a lot less to do with tractors and spreadsheets than it does with 4 almost identical mesh strainers and too many laundry baskets.Rototilling with baby in back

We have been doing some experimenting with cover crops and planting crops directly into them – aka – no-till, with mixed success. The advantage is that the plant matter left on the surface provides nutrients and protection from the elements for the new plants, as well as benefiting the micro organisms that live in the soil (this is obviously extremely simplified – see Ken for a full scientific explanation of the complex symbiotic relationships at work here). The disadvantage is that sometimes it’s difficult to kill the cover crop, and sometimes the weeds get too established before the cover crop takes over. Just last week we tried a few rows of popcorn planted into rye that had been rolled, and initially it looked great, but now the rye is rising from the dead and seems like it might smother the poor popcorn. But have no fear – there is lots of popcorn that is not part of the experiment, looking great!

IMG_4061Finally, keep a look out for a calf in the next month – Utah, the Jersey cow, is due to calve any day!


FIRST PICK UP DAYS – TUESDAY, May 17th or SATURDAY, May 21st 11am-7pm

First Pick Up this week – if you haven’t received an email from us, give us a shout to make sure that you’re on the mailing list!

We’ve got asparagus coming out our ears and the rhubarb is looking bushy – it must be time to start the CSA! We are looking forward to seeing you all. We still have a handful of spots left, so if you have any friends or colleagues that are interested in joining, please encourage them – now is the time! We are also offering a limited number of half share options (pick up every 2 weeks).IMG_3526

If you’re new, this is how it works:

  • You can come on your pick up day (Tuesday or Saturday) any time 11am-7pm
  • Cross off your name on the list of members
  • Pack up your share (bring your own bags/basket/box)
  • If you can’t make it, please let us know and we can put aside your share in the white cooler – it will be in a box with your name on it to pick up the next day.
  • Remember – there will be more and more produce as the season progresses!
  • Bring some cash if you’d like to buy eggs ($6/doz)
  • If you have a working share, there will be a calendar to sign up for dates to come out to the farm – they are usually 2.5 hour blocks of time, so you will sign up for 2 different days for the season.
  • If you haven’t paid, please bring payment (in full or post-dated checks) with you to the first pick-up.
  • Caesar (a slightly tubby Golden Retriever) may greet you with a tail wag or a bark – he’s very friendly. Don’t leave out any tasty treats (i.e. bread) for him, though, because he’ll take advantage!

For our first pick-up, we are anticipating salad greens, pok choi, spinach, rhubarb, asparagus, and herbs. Seth will be sending an email about bread for this year shortly.

The Spring Fair was a wonderful experiment – if you attended, thanks for coming and please let us know your ideas for how to do it better next year, or what to keep! Maybe an industrial-sized popcorn maker next year ;). It was a beautiful day.

We have been busy planting (and planting and planting), assembling hoophouses and organizing our pastures. We just got 200 new trees to plant from Kettlecreek Conservation Authority (red oak, sycamore, sugar maple and white spruce) and will have to plant them this week…what were we thinking?!

See you soon!


FIRST PICK UP DAYS – TUESDAY, May 17th or SATURDAY, May 21st 11am-7pm

The Spring Fair was a wonderful experiment – if you attended, thanks for coming and please let us know your ideas for how to do it better next year, or what to keep! Maybe an industrial-sized popcorn maker next year ;).

Meet the Interns 

There are five-ish (do you not count the childcarer or count the children?) interns this year, and you may have started to get to know them if you follow us on Facebook or Instagram (orchardhillfarmca).

Ellen, mama intern
Ellen, mama intern

Ellen & Aaron – Ellen is Ken & Martha’s daughter, and she and her family moved back to the farm this year. Aaron loves to work outside and has a lot of construction experience, as well as in accounting and clean energy finance. He grew up in Wisconsin and all of his family lives there still. Ellen grew up on the farm and started the CSA with Martha way back when. Since then, she has worked in coffee and fine dining and loves to cook and share her love of food – look forward to lots of cooking tips and recipes this year! Della will soon be 4 and Frannie is almost 6 months old.

Kelsey
Kelsey

Kelsey – grew up in Tillsonburg and just graduated from Western with a degree in Anthropology. She loves gardening, cross country running and baking. She rode horses when she was younger and used to work on a lavender farm.


Bryan – comes to us via Pickering and Parry Sound. He

Bryan at leisure
Bryan at leisure

loves animals and the outdoors – ask him about bird songs, or toads! He started an electrician apprenticeship, and has worked a lot of conservation jobs. Last year he worked at a farm that we know well – Meeting Place Organic Farm – and worked with draft horses there. In the fall he’ll be starting his study of Heritage Masonry at Algonquin College.


Heidi working in the greenhouse

Heidi – grew up in Toronto, but looked forward to long weekends when her family would leave the city and visit her grandparents at their family farm. She graduated from Lakehead University and spent 4 years gardening and working on Cortes Island in British Columbia. For the past several years she has been doing strawbale construction and carpentry. She’s excited to get back to farming!

Kombucha Tutorial

Jim talking kombucha at the Spring Fair

Jim Conrad is an all around handy guy – he’s been helping us out on the farm with all kinds of menial and skilled tasks (metal working, small machines, window installation, painting, picking, planting) for a while now – a friend and a member of the garden. At home he’s equally as handy, and makes kombucha on the regular. Here’s his breakdown:

Last Saturday I attended the Orchard Hill Farm Spring Fair – what a great turn out! I was quite surprised at the interest in fermenting.

Let’s talk Kombucha! There is a lot of buzz around about this fermented tea drink and it’s now showing up everywhere. Kombucha comes from fermenting various types of tea in sugar water with the use of a SCOBY. ‘SCOBY’ stands for  Symbiotic Colony Of Bacteria and Yeast and has been around for years…but let’s not get too into the history of it – there’s lot of easy-to-find information on the internet.

This is the process that I’ve been using for several years now:

Kombucha

3 quarts water

1 cup sugar

4 tea bags (4 black, or 2 black and 2 green, or 2 black and 2 ginger)

1 Scoby

1/2 to 1 cup starter (Kombucha from previous batch)


Bring the water to a boil then add the cup of sugar.

Once the sugar has dissolved, add the 4 tea bags and let it boil for 5 minutes.

Remove the tea bags and allow the sweet tea to cool to room temperature.

Place the room temperature sweet tea into a glass container for the fermenting process.

Add the starter and Scoby.

Cover with a cloth to keep anything out of the brew and allow the Scoby to breathe.

Place the container somewhere warm (65-85F) and out of direct sunlight.

At the 8-day mark you can taste the Kombucha to see if it is still sweet.  If you are happy with the taste you can process it and if it’s too sweet just let it ferment longer (if you let it go too long it will get very tart).

I process the Kombucha by removing the Scobys (there will be two now) and half to 1 cup of the kombucha to be used as my next starter.

Filter the kombucha through a cloth and place in the refrigerator.

If you want to do a second fermentation, add some fruit juice, fruit, herbs, or ginger and put a secure lid on.  Set on counter for a day or two (be careful when you open it as there will be a gas build up). Enjoy!

There is a lot of information on the benefits and adverse effects of drinking Kombucha.  Take the time to do your research to make sure this is something you want to do.

– Jim Conrad

IMG_2710The Spring Fair was wonderful! Thanks all who came out. Here is a little something about fermentation and a few recipes to go with the demonstration today.

I lived on the West Coast for over a decade, so of course I’ve heard of the benefits of naturally fermented vegetables – it’s like a right of passage – you have your first European style cappuccino, and then a tempeh reuben with sauerkraut that was made in the sandwich guy’s basement. And I always thought that I should be fermenting vegetables, but aside from a few batches of pickles, and some fermenting at the restaurant I worked at, I didn’t do much at home. Until now! Now I’m at the farm, surrounded by all these vegetables…and it seems like every other week there’s another study out, linking our gut health with a healthy immune system, mental health or digestive prowess. Fermenting increases the availability of vitamins and aids in digestion. There’s a reason that almost every culture on the planet has some version of fermented food as a traditional food staple – think yogurt, sauerkraut, kimchee, kefir, miso…

I won’t go into much more detail – y’all can look it up on your own, or you’re like me and you already know that you should be eating more fermented foods, but they’re too expensive or they seem too daunting. But it’s so easy and fun. I love pickles, but the standard pickles are just vinegar and salt and cooked vegetables and they’re doing nothing for you. So I’ve got a recipe here for Garlicky Dill Carrots that are crunchy, salty and perfect with a sandwich. But I also think it’s really convenient to have something in the fridge that’s a little bit like a pickle and a little bit like a salad. I’ve been known to throw together the Curried Kraut with some celery, leafy greens and some tuna…et voila – hippy Nicoise! Enjoy. And bring me some of your fermented creations to try – that’s the thing, once you make a good one, you’re hooked and you can’t wait to share them.

Fermentation ‘Recipe’

I always thought that it was annoying that all these fermentation people didn’t just have a good recipe – it was always so loose-y goose-y it seemed like a joke. And now here I am, trying to write a recipe – but the thing is that it’s hard because there are sooo many things you can do, as long as you work within the basic rules. Don’t worry – there are recipes below!

The basic premise with lacto-fermentation is that you’re creating the perfect environment for only the bacteria that you’re interested in – not the mold, not the nasties, just the lactobacilli (that’s why it’s called lacto-fermentation, nothing to do with milk, just the particular family of bacteria). As the sugars in the vegetables are broken down by the bacteria into lactic acid, the taste becomes less sweet, and more tart – hence the vinegar-esque flavor. The longer the ferment, the more tart it will be – because of the increase in lactic acid. The texture of the vegetables will also be affected – if it’s too long, they will get mushy. Around 2 weeks is good for most of the vegetables that I’ve used. The flavor is more developed and the vegetables are still crisp.

Here are the rules:

  1. Keep oxygen out (anaerobic fermentation) – some may argue that this is not necessary, but it makes it a lot easier and takes the guess work out of it. So use an airlock or a crock with a water moat (google it!). Harvest Pantry – upstairs at the Western Fair Market in London – sells some lovely, simple gallon jars with an airlock that are perfect for about $16. Keep in mind that every time you open your fermentation jar, you’re allowing oxygen in. Not a big deal if you do it once at the 10 day mark, but you don’t want to open it every day.
  2. Salt – the less salt you use, the greater the chance that another bacteria is going to take up residence, and it also helps to create the pickle/kraut flavor and texture. Too much and it’s inedible. Use a nice sea salt, not factory salt. Himalayan pink salt, Real Salt, or grey salt are all great. Not Kosher salt, not shaker salt.
  3. Keep it long sleeve t-shirt temperature – most of the time, a cool room temperature is good for fermenting – around 68˚F. A little warmer makes things happen faster, a little cooler makes things take a little bit longer.
  4. Basic cleanliness – wash your hands, wash your fermenting things, keep clean cutting boards clean, don’t get any meat/dairy juices in there, etc.
  5. Use good water if you’re making a brine (i.e. not chlorinated water). At the farm we have well water, which is great. If you live in the city, use bottled water.
  6. Good vegetables! I almost forgot this one because it’s a given, right? Organic, local, fresh.
  7. Keep it in the dark(ish). It doesn’t have to be a blackout, but keeping it in a cupboard or wrapped in a towel is a good idea.
  8. Keep the vegetables submerged in your liquid. Use a plate, boiled rocks, or a clean mason jar to keep the veggies submerged. Cabbage leaves are really handy for this too – use the big ones from the outside of the head to wrap around the surface and push the veg beneath the liquid.

Some people think that a little mold on the top is no big deal, but I say no! Aim higher! Who wants mold in their food? Unless it’s cheese, of course. I don’t like mold – I feel like most of the time, you can taste it, and if you have a proper set up (air-lock, good vegetables, good salt, etc), there really is no reason that it should become moldy. Cloudiness, and a sort of a white, silty look is normal and desirable. Any mold, sliminess or discoloration is a chance to start again!

Garlicky Dill Carrots

8 cups water

4 Tablespoons sea salt

3-5 cloves garlic, peeled and cut in half

2 medium hand-sized dill fronds

around 4 lbs carrots, peeled and cut into sticks

Place the dill fronds and garlic in the bottom of the fermentation jar. Layer (or toss) the carrot sticks in on top. If you get strategic at the top, you might be able to layer them so that they won’t float when you add the brine.

Dissolve the salt in the water by putting them in a bowl and stirring, or whisking. If you’re using a salt that it is tough to dissolve (large chunks, etc), throw it in the blender on low while you’re prepping the rest of the vegetables.

Pour the brine over the carrots until it covers them by 2”. You will probably have some left over brine, which can be saved in the fridge for your next fermentation project. Use a small plate, clean, boiled rocks, or a clean pint sized mason jar to weigh down the carrots in the brine.

Put on the lid, and put the jar in a dark corner (a cupboard, behind a book shelf, etc). Wrap it in a towel and make a note to check it in a week. After a week, don’t open it, but check that the vegetables are submerged and that it there isn’t any mold or weirdness. Taste it at the 2 week mark (or 10 days if you’re antsy).

Harvest your ferment by moving it into smaller, labelled jars to put in the fridge. Use long tongs and a wide mouth funnel to move the vegetables into mason jars. Remove the dill and garlic as you come across them.


Curried Kraut

4 cups water (non-chlorinated, room temperature)

2 Tablespoons sea salt

1-2 small shallots, sliced thinly (or 3 cloves garlic)

3 small thumb sized pieces of ginger, peeled

3 Tablespoons mild curry powder

1 jalepeno or serrano pepper, de-seeded & minced (optional)

12 cups shredded vegetables:

2-3 medium golden beets, peeled and grated

8 medium carrots, peeled and grated

½ cabbage, shredded

1 head cauliflower, cut into small florets (use the stalk too!)

other ideas:

1-2 small green or red meat radish

2 small kohlrabi (or, like an 1/8 of the giant storage kohlrabi)

1 rutabaga

5 small hakurei turnip

  • A note on the vegetables – it doesn’t really matter what vegetables you use (see note below in the FAQs section), but using a range of different colours is nice, and the more cruciferous vegetables (kohlrabi, cabbage, cauliflower), the more stinky it will be – stinky in a good way ;).

If you’re using a cabbage – save 4-5 outer leaves for wrapping before cutting it up. Grate or cut up the vegetables – on a box grater, with a mandolin, or with the grating attachment of a food processor. I usually use a combination – I generally hand slice the cabbage, shallot and cauliflower, and use the food processor to grate all the root vegetables. In a large bowl, toss together the vegetables to mix them well and sprinkle on the curry powder.

Dissolve the salt in the water by putting them in a bowl and stirring, or whisking. If you’re using a salt that it is tough to dissolve (large chunks, etc), throw it in the blender on low while you’re prepping the rest of the vegetables.

Pack the vegetables into your fermentation jar. Press on it to compress it. Use some of the large cabbage leaves to layer on the top of the grated vegetables to help keep them submerged below the surface of the brine. Pour the brine over until it comes 2“ above the surface of the veg.

Use a small plate, clean boiled rocks, or a clean pint sized mason jar to weigh down the vegetables in the brine.

Put on the lid, and put the jar in a dark corner (a cupboard, behind a book shelf, etc). Wrap it in a towel and make a note to check it in a week. After a week, don’t open it, but check that the vegetables are submerged and that it there isn’t any mold or weirdness. Taste it at the 2 week mark (or 10 days if you’re antsy).

Harvest your ferment by moving it into smaller, labelled jars to put in the fridge. Use long tongs and a wide mouth funnel to move the vegetables into mason jars. Remove the big chunks of ginger as you find them. Or don’t worry about it and watch your friends find them as they chew them!


Beet Kraut with Lime and Ginger

½ tsp lime zest

4 – 1 inch chunks of ginger, peeled

10 Cups beets, peeled and shredded (around 6 medium)

1 ½ Tablespoons sea salt

1 Cup brine (same brine as above – or 1 Cup water to 1 ½ tsp salt)

Toss the grated beets with the zest, ginger and salt. Pack it into your fermentation jar, and top with brine to bring the brine 2” above the beets. Use boiled, clean rocks to weigh down the grated beets. A few will float to the top, skim off some if there are a lot, but if you’re using an airlock, it will probably be ok. Taste it after a week (the ferment we tasted today at the demonstration was a week old), but keep it going for a little longer if you’d like.

FAQs

What vegetables are good for fermenting?

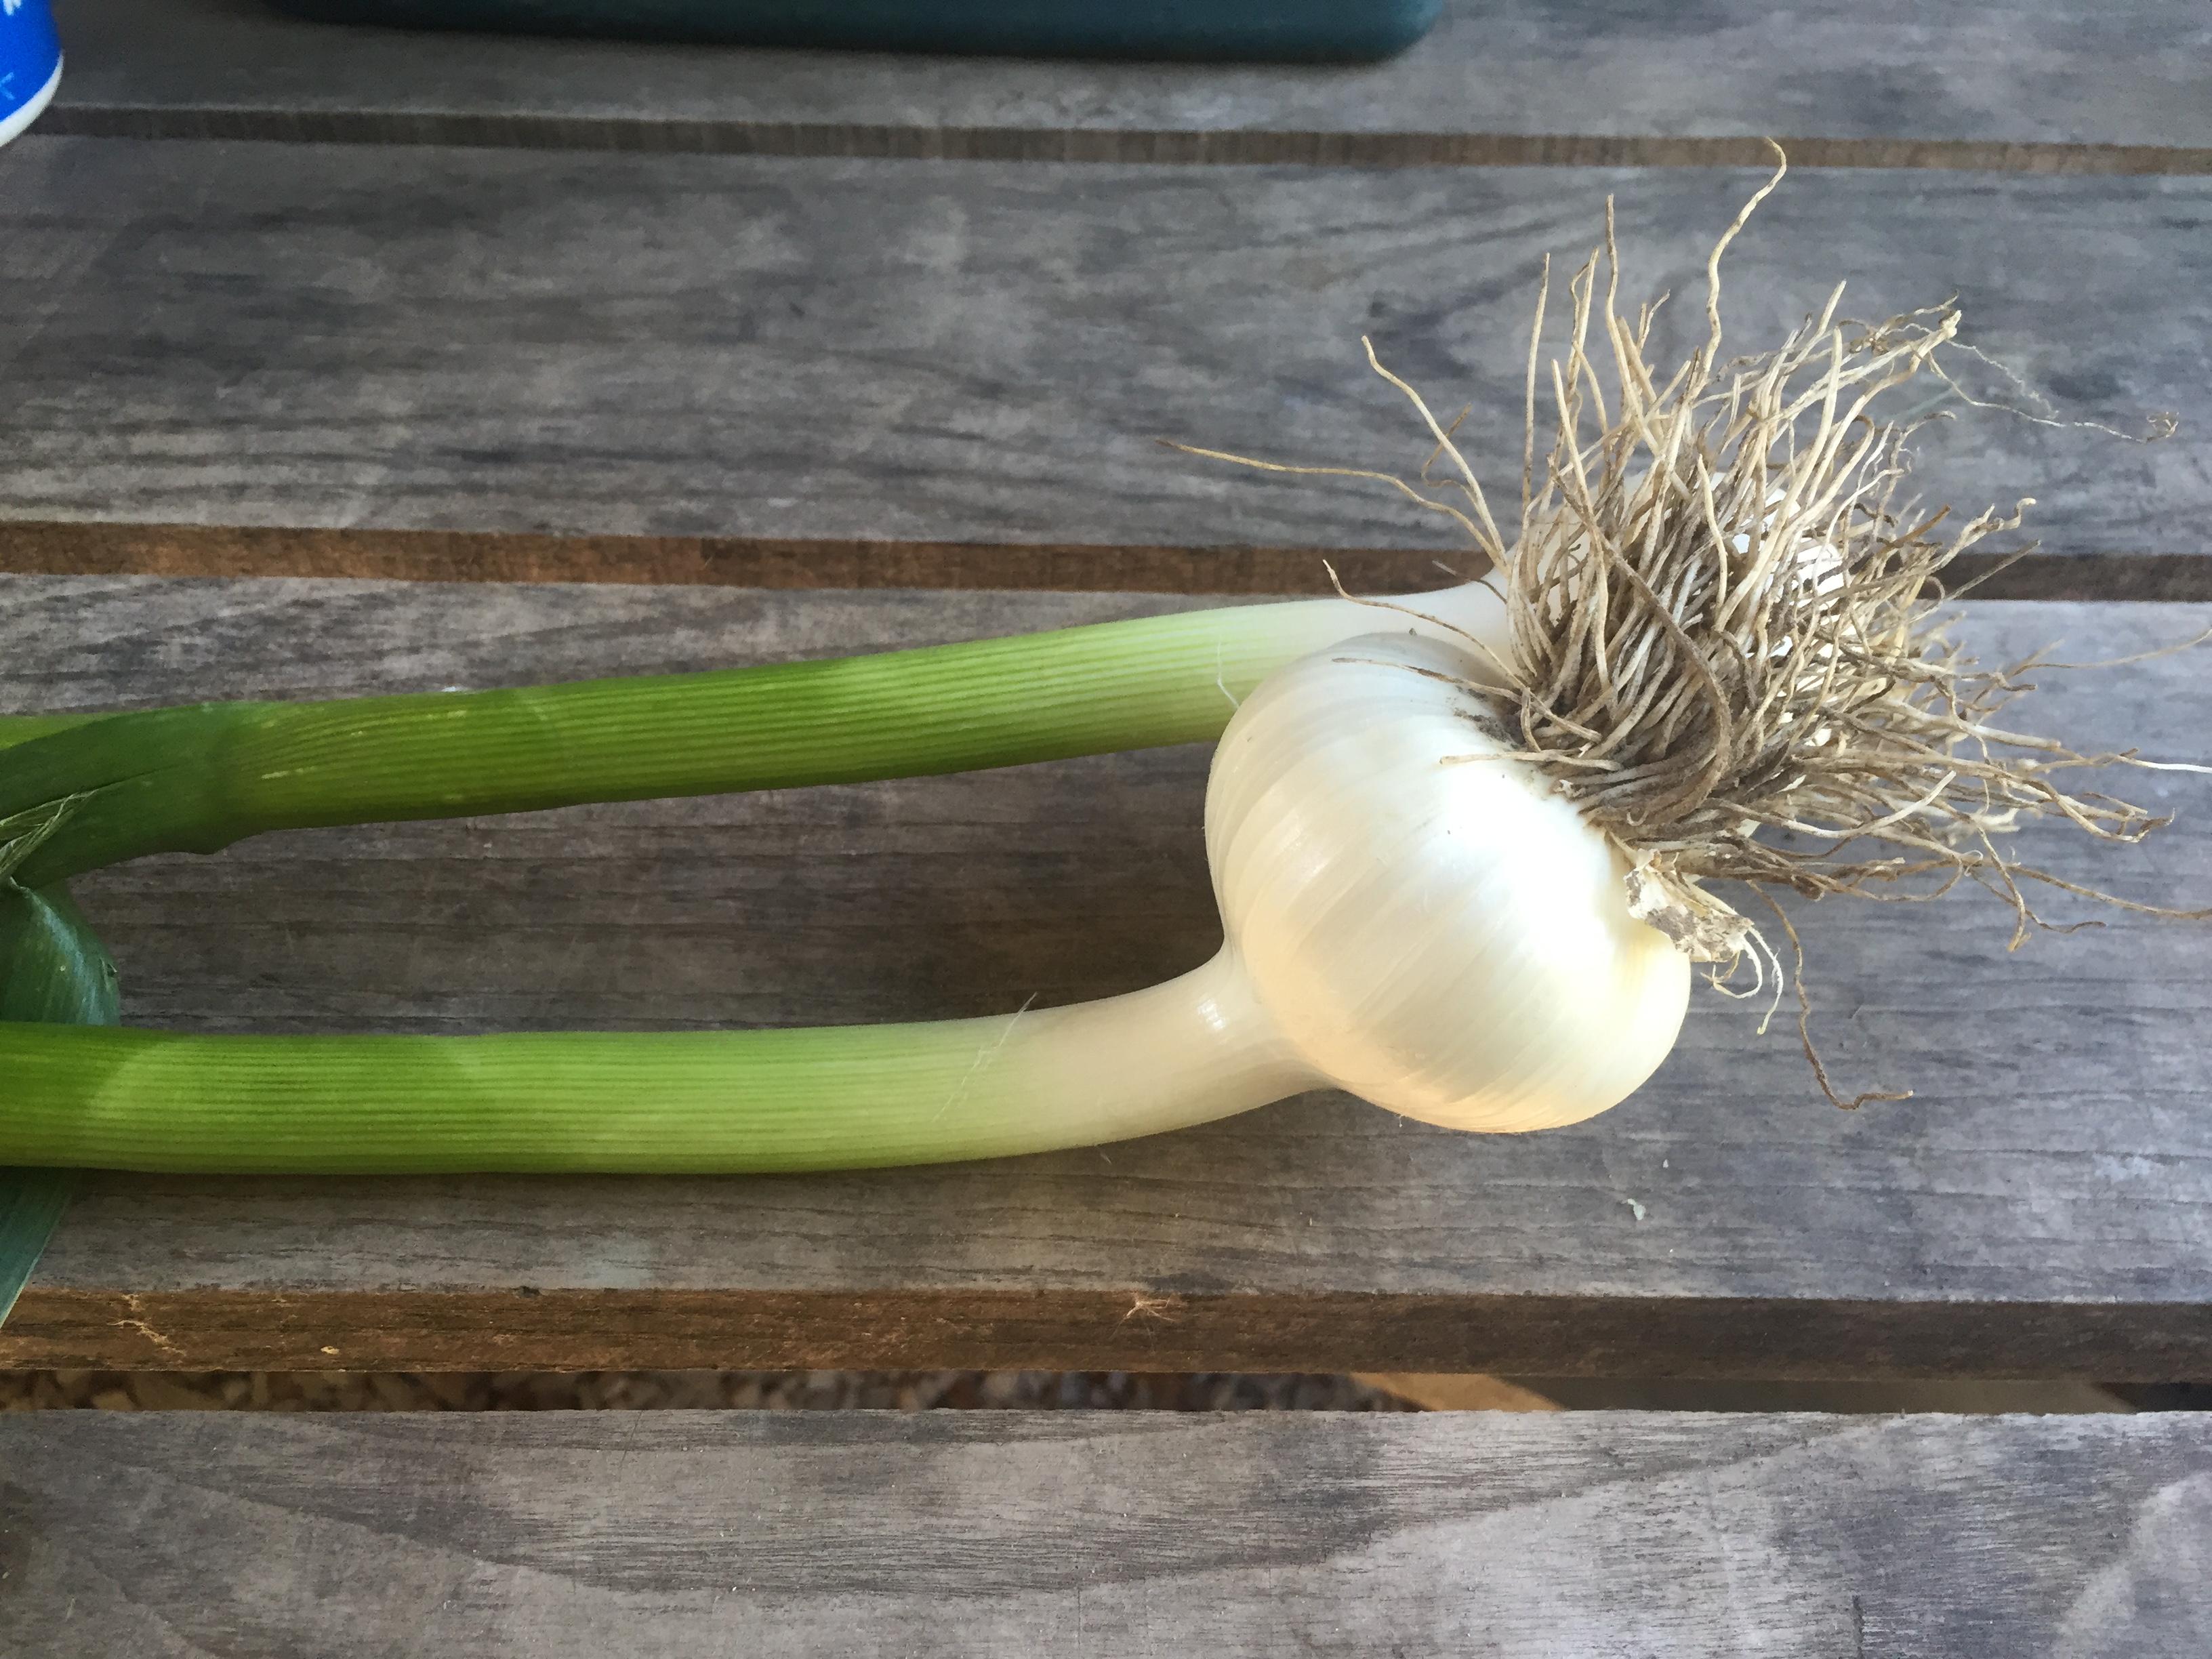
Most of them. Texture is the only hiccup. If you’re going to ferment leafy greens or eggplant, you’d have to have a pretty high tolerance for soft, mushy savory things! But carrot, cabbage, any kind of radish, turnip, snap peas, asparagus, green beans, kohlrabi, celery root, beets, onions, garlic, shallot…all delicious.

How long is it good for?

Once you taste the ferment and decide it’s where you’d like it, throw it in the fridge and munch away til it’s gone. After a couple of months, the texture might start to degrade a bit. But if it’s a good one, I’ll bet you eat it before it’s gone. It’s a great way to use up some of those extra vegetables in your fridge and keep them around for another month or two.

Can I ferment a smaller quantity? Why are your recipes so big?

The path to success is paved with gallon jars. The bigger the jar, the more consistent the results. Sure, you could go to the trouble of making a quart of something. But then you sit it in your cupboard for 2 weeks, and it could be gone in a week. Make a little bit more and give it away to your friends!

Mosquito in the greenhouse

The cats – Mosquito and Courgette – love greenhouse season because they get to lounge around on warm stones and pretend they’re indoor cats. They like to place themselves conveniently at petting level…but then they get kicked out for laying on top of the onions!

What looked like an early spring had us all excited to work the garden and plant…and now we’re back to a week of winter. But there’s still work to be done while it’s cold – last week two of the season’s three interns arrived – Bryan and Heidi. They had an introduction to working with the horses – although Bryan has quite a bit of experience, because last year he worked with draft horses at Meeting Place Farm, another organic vegetable & livestock farm near Lucknow. We have been planting in the greenhouse, and transplanted some pok choi into one of the hoophouses – protected with row cover too, but still – the poor pok choi!

We still have some shares available for the 2016 season, and we have lots of eggs in the cooler – the hens think it’s spring, even if it’s snowing.

Heidi driving during intern  draft horse workshop.
Heidi driving during intern draft horse workshop.

This week we will be pruning the fruit trees and grapes, putting up a swing for Della (she picked out pink rope at the store with her dad), mulching the rhubarb – which is just starting to come up, and planting a bunch of seeds in the greenhouse. As well as stoking the fire to keep the little plants warm in this below freezing weather, and setting up the rest of the hoop houses for planting and transplanting.

Garlic just beginning to grow....this was planted just a few weeks ago, into a hoophouse, under row cover.
Garlic just beginning to grow….this was planted just a few weeks ago, into a hoophouse, under row cover.

Firewood Ready for Splitting

We are experiencing an early spring this year! However, we still need to wait for the land to dry out and there is rain in the forecast for next week. Ken has been itching to get starting on spring planting. He is trying to reduce the amount of ploughing and is more convinced than ever that cover crops and no-till are the way to go. Hauling out firewood and logs for sawing with the horses helps to get them into shape for spring work. This year Aaron helped with the logging and firewood hauling and began working with the draft horses at the same time. Our next winter firewood is ready for splitting and we have an increasing pile of lumber to mill. Hopefully we will be able to fit those jobs in around our spring work.

The greenhouse wood stove lit and little plants are springing up. It was fun to have four generations of my family seeding together when my mother showed up one afternoon for a visit. Having Della and Frances here certainly adds another dimension to activities around the farm.

Della Jane and Great-grandmother Jane Planting Sage

Della Sifting Potting Soil

Pac Choi Coming Up
Pac Choi Coming Up

Aaron Pulling out a Bunch of Fire Logs photo credit Jim Conrad

Aaron Driving New Sleigh with Suffolk Punch Horses
Aaron Driving New Sleigh with Suffolk Punch Horses photo credit Jim Conrad

Aaron logging with Buttons and New Queen
Aaron logging with Buttons and New Queen photo credit Jim Conrad

Gwen pulling out a Log
Gwen pulling out a Log photo credit Jim Conrad

Gwen moving into position to pull Log; photo credit Jim Conrad